Purple Laser Level Keeping it Square
You'll need to ensure the grid remains square during installation by periodically checking and making adjustments as needed. Here are a few methods to ensure the grid stays square: 1. Measure the diagonals: After installing the main runners and the first 2 rows of tees, measure the diagonal distances between opposite corners of the grid (from the top-left corner to the bottom-right corner and from the top-right corner to the bottom-left corner). If the grid is square, these diagonal measurements should be equal.
ACOUSTICALCEILINGLASER LEVEL
kbraeger
4/6/20234 min read
Keeping it Square: The Explanation of the Benefits of Using a Laser Level to Hang Acoustical Ceiling Grid
You'll need to ensure the grid remains square during installation by periodically checking and making adjustments as needed. Here are a few methods to ensure the grid stays square:
1. Measure the diagonals: After installing the main runners and the first 2 rows of tees, measure the diagonal distances between opposite corners of the grid (from the top-left corner to the bottom-right corner and from the top-right corner to the bottom-left corner). If the grid is square, these diagonal measurements should be equal. If they're not equal, adjust the position of the cross tees and main runners until they are.
2. Use the 3-4-5 rule: Another way to ensure your grid remains square is to use the 3-4-5 rule, which is based on the Pythagorean theorem. Measure 3 feet along one main runner from the intersection with a cross tee, and make a mark. Measure 4 feet along the adjacent cross tee from the same intersection, and make another mark. The diagonal distance between these two marks should be 5 feet if the grid is square. If not, adjust the position of the cross tees and main runners as needed.
3. Check for squareness regularly: As you install the cross tees and main runners, periodically check for squareness using the diagonal measurements or the 3-4-5 rule. This will help you maintain a square grid throughout the installation process.
Using a string:
1. Measure and mark a point on the wall angle the required measurement off the wall going the same direction as the main runners will go. On the opposing wall, measure the same distance required off the same wall as the first point.
Feed one side of a string line under the wall angle on one side of the wall. Tie the string to a screw, and fix it to the wall so that the string lines up with your first mark on the wall angle.
Stretch the string line across the room to the mark on the other side on the wall angle.
Cut the string making sure to allow enough extra line to play with (approx. 12 inches)
Feed the string under and behind the wall angle at your second mark and attach it to another screw or pop rivet.
Line the string line up with your mark on the wall angle. Stretch the string super tight, and fix it to the wall.
2. You will make sure that your 1st main runner is lined up with the center right on the string.
3. Use temporary clamps to attach the main to the wall angle on the front side of the wall, and to attach the tees to the perp0endicular wall so the main is on the string exactly.
4. Hang the second main on the wires and connect it to the first main by using 2 tees forming a rectangle.
5. Using any of the above methods to make the rectangle square, adjust the second main front to back until you have achieved square.
6. Permanently attach the 1st and 2nd main to the front wall using pop rivets.
7. Eyeball the 1st tee so that it is inline with the 1st tee in the rectangle above.
Affix the tee to the wall angle using pop rivets.
To determine were the next tee goes, measure from the first tee the required distance and make a mark on the wall angle.
Affix this next tee at your mark; while ensuring that the main remains centered on the string line.
8. Continue doing this with the mains all of the way down the wall (once this first bay of grid is square, the rest of the tee bays will also be square.).
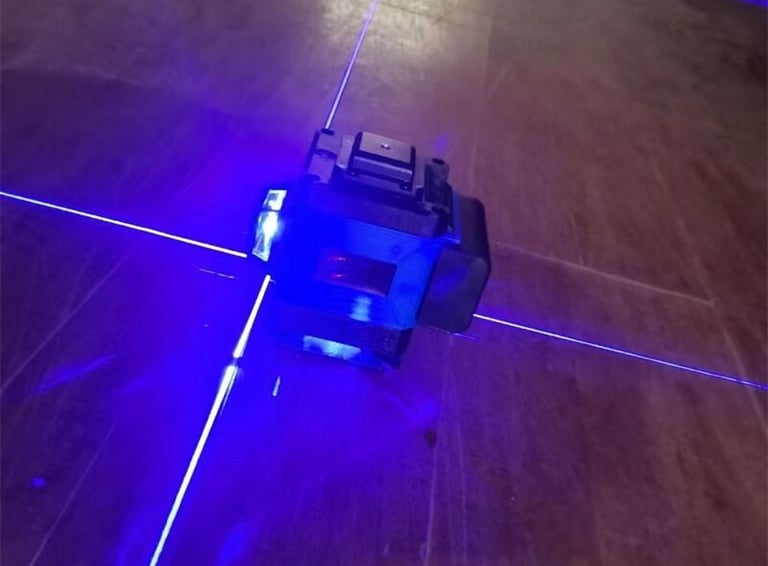
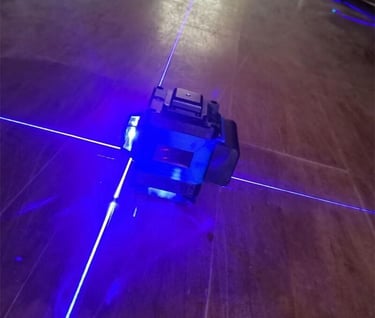
Using a Square Laser
1. Measure and mark a point on the wall angle the required measurement off the wall going the same direction as the main runners will go. On the opposing wall, measure the same distance required off the same wall as the first point.
2. Measure a 3rd mark on the perpendicular wall angle at the appropriate distance off the wall as determined by the foreman
3. Turn on your laser so the 2 vertical lines are visible, and they should make a square on the ceiling and floor. This is your 90 degree.
4. Line one of the laser lines using mark 1 and 2.
5. Line the other laser line to hit mark 3.
6. Hang the first and second mains off the wires; attaching them to each other using tees.
7. Affix the main to the front of the wall using a pop rivet so that the first tee lines up with the laser line.
8. Affix the first tee to the wall angle making sure that the main is centered over the other laser line.
9. Affix the remaining mains and tees to the wall angle while ensuring that the first rows stay centered on the corresponding laser lines.
This is a comparison between the old way, and the modern way of hanging grid for an acoustical ceiling. While the laser may take a little longer to set up in the beginning, It will make the installation faster by far.